How to create a basic table in Confluence and later on add rows and columns.
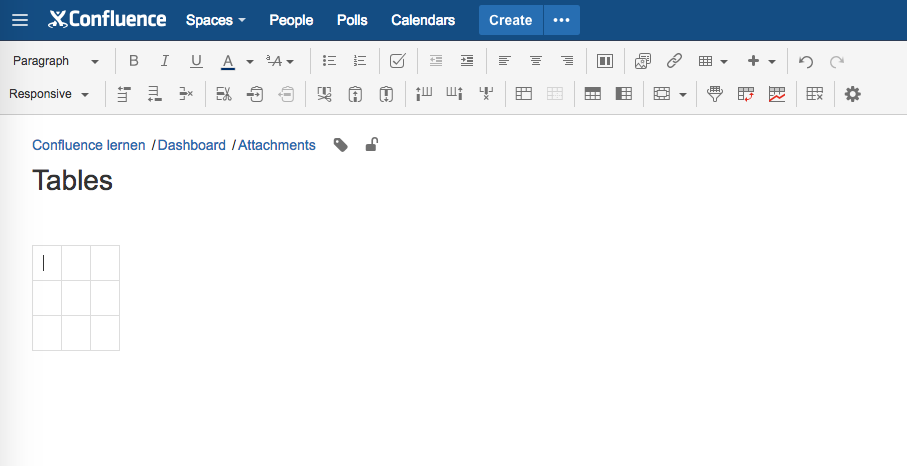
While editing your page, place your cursor where you want to create a table and click “Insert Table” in the toolbar. Highlight the number of rows and columns you need and click to create your table.

Then enter content in the table cells. In the toolbar, you’ll now see the Table toolbar where you can use the different functions to insert rows and tables.
You can see all of this in Video #10 of our Video Tutorial series “Learn Atlassian Confluence”. Video #12 shows you how to add rows and Video #13 how to add columns.
This is the link to Atlassians documentation about tables.


